
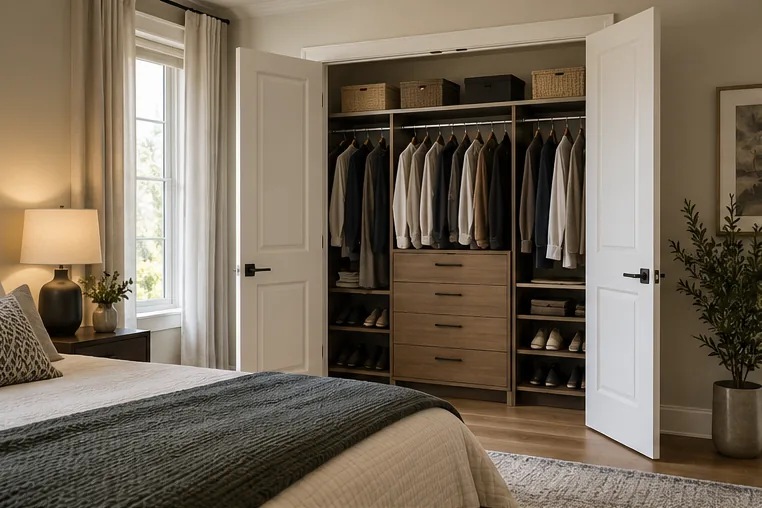
Closet Doors should begin with the room and the inventory—not a preset package. The useful design is the one that gives everyday belongings a clear place while protecting access, movement and the proportions of the interior.
For a reach-in opening, walk-in entry or wardrobe front, the first questions are practical: what must be stored, which items are used daily, what can live higher or behind a door, and which existing conditions cannot move? Those answers establish a functional brief before finishes or optional details are selected.
What the storage needs to solve
A closet door project is successful when it reduces repeated friction. The goal is not to install the largest possible number of parts. It is to assign appropriate space to categories that differ in height, depth, frequency and visibility. Start by identifying the failures in the current arrangement and the items that regularly end up on a chair, dresser, counter or floor.
- increase usable access width
- avoid door collisions with furniture
- keep drawers clear of the opening
- coordinate mirrored surfaces thoughtfully
- enclose a wardrobe wall
- match the proportions of the room
Photographs are useful, but a written inventory is more revealing. Count or estimate the width of hanging clothing, the number and type of shoes, the amount of folded storage, the bags or equipment that need structure, and the seasonal belongings that can be less accessible. This prevents visually attractive features from taking the space needed by ordinary daily items.
Read the room before drawing the layout
Gross dimensions do not equal usable storage. Doors, casing, windows, sloped ceilings, baseboards, vents, switches, outlets and changes in wall depth all reduce or redirect the area that can be fitted. The path into the room matters as well: large panels and assembled elements must reach the installation area without damaging surrounding finishes.
For this service, the layout review should consider hinged-door swing zones, sliding-panel overlap, paired-door centre clearance, mirrored-door sightlines, wardrobe door module widths, handle and drawer interactions. These are connected decisions. Moving a drawer bank can improve access but remove long-hanging space; adding deeper shelves can increase capacity but narrow circulation; enclosing upper storage can calm the view but add doors and hardware.
Clearance should be tested with components operating, not only closed. A comfortable empty aisle may become unusable when a drawer opens, a door swings or a second person enters. This is especially important where storage sits near a bedroom door, appliance, workstation or passage.
Choose components by category
The component plan should explain why each part exists. Adjustable shelves suit categories whose height may change. Drawers control smaller folded items but need clear opening space. Hanging rods are efficient only when their heights match the garments below and above. Doors can reduce visual noise while adding cost, hardware and operating clearances.
| Component | Planning question |
|---|---|
| Hinged doors | Which belongings will this hold, and how often are they used? |
| Sliding panels | What clear width, depth and height does it require? |
| Mirrored doors | Can it open or be reached without blocking another feature? |
| Wardrobe fronts | Should its position be adjustable as needs change? |
| Handles and pulls | Does it need to be visible, enclosed or easy to clean? |
| Tracks, hinges and soft-close hardware where specified | How does it relate to nearby doors, hardware and lighting? |
Specialized accessories should follow the essential storage plan. A jewellery tray, valet rod, hamper, pull-out or mirror can be valuable when it supports a real routine. It is less useful when it occupies the only location suitable for core hanging, shelving or access.
Access, doors and everyday movement
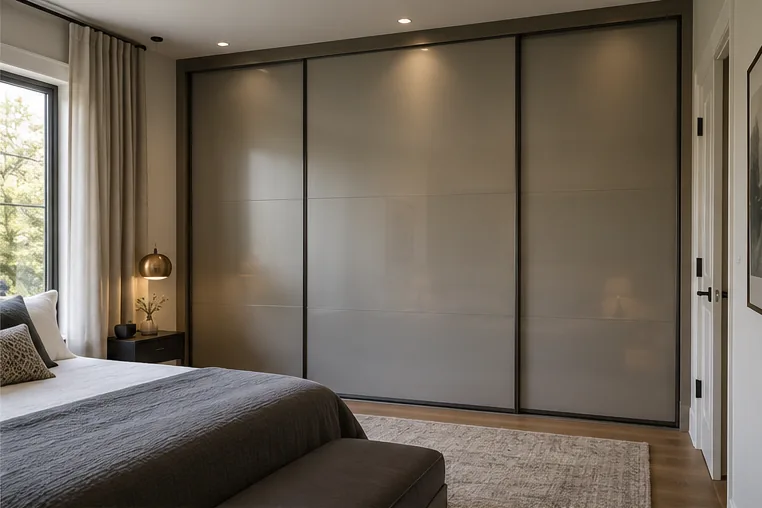
Doors are part of the storage layout, not a finish selected at the end. Sliding doors hide part of the interior at all times; hinged doors expose more width but need floor clearance in the room.
Usable access should be recorded in the design, not discovered after installation. Measure the clear opening, note which panel or door is normally used, and locate nearby furniture or fixtures. If a feature only works when two other elements are moved, it is not well integrated.
Frequency also shapes access. Everyday items belong between comfortable knee and shoulder height where possible. Occasional and seasonal storage can use upper zones. Low shelves can suit shoes, bins or heavier items, provided they do not project into the walking area or prevent a door from closing.
Materials, finish and integration
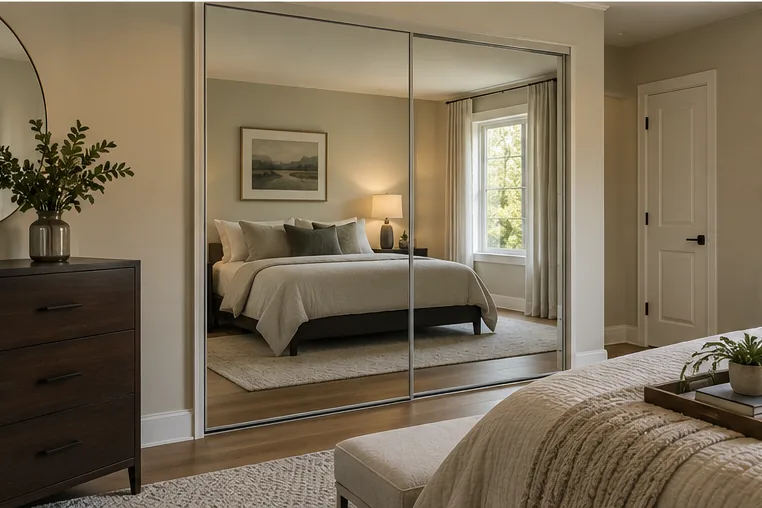
Door finish, panel rhythm, edge detail and hardware should support the room. Mirrored panels can serve a dressing function but also reflect windows, beds and lighting, so their placement deserves a sightline check.
Samples should be viewed in the actual room when possible. Natural and electric light can shift warm ivory, taupe, wood-look and dark finishes significantly. Hardware should be comfortable to grip and proportionate to the front it operates. Edge details, filler widths and alignment across doors and drawers contribute as much to the finished appearance as the colour itself.
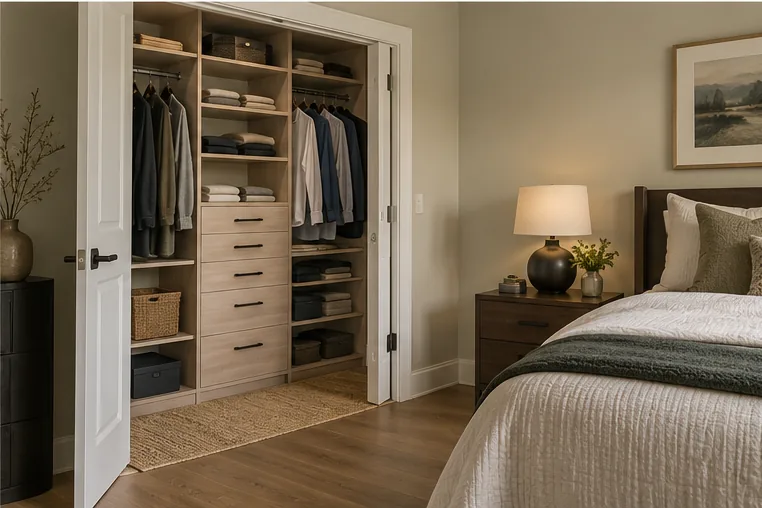
Open storage exposes the inventory and benefits from consistent spacing. Closed storage can create a quieter wall but requires more fronts and operating room. Many rooms work best with a deliberate mixture: open access for daily categories and enclosed space for visual clutter or less frequent items.
Preparation and installation considerations
Openings should be measured for level, plumb and casing depth. Tracks, floors and adjacent baseboards may affect installation. Door weight and hardware need to suit the panel dimensions.
A written scope should identify what is removed, what remains, who clears belongings, whether patching or painting is required, and which electrical, plumbing or flooring tasks sit outside the storage work. This protects both the schedule and the finished result.
On installation day, access through the house matters. Hallway width, stairs, elevators, door removal, floor protection and a staging area can affect the sequence. After installation, doors, drawers and adjustable parts should be operated and checked against the approved layout.
Oakville homes require property-specific decisions
Older bedrooms may have tight furniture clearances, while larger wardrobe walls need disciplined panel proportions. The right door type follows the room rather than a single preferred system.
Neighbourhood or house age can suggest likely conditions, but it should never be used as a substitute for inspection. A renovated older home may have entirely new framing, while a newer home can contain an unusual opening or builder modification. The useful local approach is to ask better questions about the room in front of you.
Finish coordination also varies by property. Existing baseboards, casing, floors and wall colours provide context. The design can align with that context, create a restrained contrast or establish a distinct furniture-like element, provided the choice is intentional and practical.
What affects the project estimate?
A useful estimate follows a measured design and written inclusions. A broad price taken from another room can be misleading because one added wall, a bank of drawers or a change from open storage to full-height doors materially changes the component count and installation work.
- opening width and height
- number and type of panels
- mirror or specialty finish
- track, hinge and handle selection
- opening preparation
- integration with wardrobe or interior components
When comparing options, ask whether removal, preparation, delivery, hardware, fillers, trim details, taxes and coordination items are included. Reducing cost does not have to mean abandoning the layout. It may mean prioritizing the most useful elevation, replacing some drawers with adjustable shelves, simplifying door quantities or phasing secondary rooms.
See the custom closet cost guide for a fuller explanation of scope and estimate questions.
A practical planning sequence
Describe
Share the room, storage failures, inventory, timing and photos.
Measure
Confirm dimensions, openings, services, trim and access.
Allocate
Assign hanging, shelves, drawers and special categories.
Test
Check doors, clearances, reach and movement with parts open.
Specify
Confirm finish, hardware, preparation and written inclusions.
Review
Operate components and compare the result with the agreed scope.
Related storage planning
Frequently asked questions
Wide room photographs, approximate width, depth and height, the opening and door type, the categories that need storage, desired timing and an investment range are enough for an initial discussion. Final dimensions and site conditions should be verified before approval.
The layout begins with the usable room and the inventory, then assigns frequent items to comfortable reach. Doors, drawers, hanging, shelves and walking space are tested together so one feature does not block another.
Yes. Colour direction, wood-look tone, door style and hardware can be considered beside flooring, walls and trim. Coordination does not require copying every existing detail.
Dimensions, fitted wall area, component quantities, doors, drawers, hardware, accessories, finish, site preparation and installation conditions all matter. A measured written scope is more useful than a universal starting price.
Yes. Several closets or storage rooms can be considered together. Each room should keep its own inventory, access and layout decisions even when the finish direction is coordinated.
Discuss your closet door project
Share photos, approximate dimensions and the items that need a place. A useful first conversation starts with the room as it exists today.