
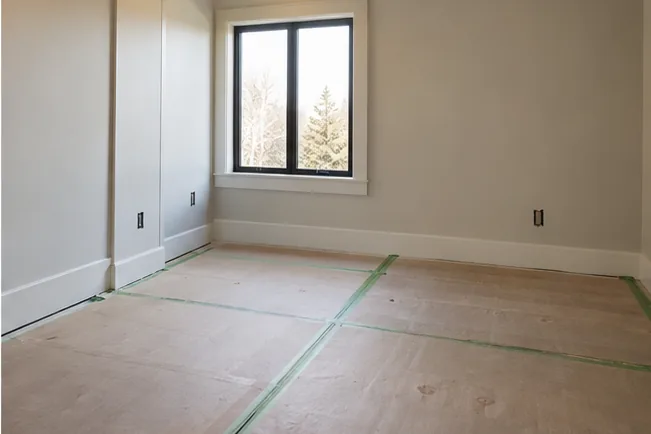
A clear process moves from room information to verified dimensions, then from layout to written scope. Each step reduces a different type of uncertainty before installation.
1. Describe the room and the problem
Begin with the room type, approximate dimensions, postal code, desired timing and photos taken from several angles. Explain what is difficult today: a single hanging rod, hidden reach-in corners, no place for shoes, a crowded garage entry, pantry shelves that are too deep, or an office without cable storage. List the categories the finished space should hold.
An investment range helps distinguish a focused reach-in from a multi-wall dressing room or several coordinated rooms. It does not replace a measured estimate. The initial information simply makes the first discussion more useful.
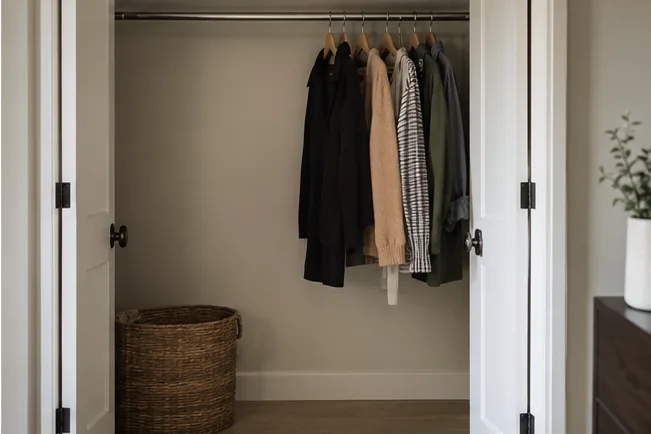
2. Measure and assess access
Final planning requires verified width, depth, height and opening dimensions. The assessment also records doors, windows, casing, baseboards, outlets, switches, vents, ceiling changes and uneven conditions. In a reach-in, the clear opening may be more important than the back-wall width. In a walk-in, the aisle and entrance shape the available component depth.
The route into the room matters. Stairs, hallways, elevators, doorways and a staging area affect delivery and installation. Appliance doors, garage doors, room doors and existing furniture create additional operating zones that the storage cannot occupy.
3. Develop the functional layout
The inventory is divided into categories: short and long hanging, folded items, shoes, accessories, seasonal storage and any room-specific equipment. Frequently used items are placed within comfortable reach. Drawers align with clear openings. Shelves are spaced for the actual category. Corners are resolved deliberately rather than filled automatically.
Optional elements such as islands, benches, vanities, mirrors and specialty pull-outs are tested against circulation and essential capacity. A feature that crowds the room or removes necessary hanging is not an upgrade.
4. Confirm components, finish and details
Once the layout works, the visible design can be refined. Review open and enclosed storage, door and drawer-front style, colour or wood-look direction, hardware, edge details, fillers and relationships to surrounding trim and flooring. Samples should be considered in the room’s actual light.
If lighting is involved, the location of channels, transformers, switching and electrical preparation should be coordinated before components are finalized. The same applies to media cables, office power, laundry hookups and appliance ventilation.

5. Review the written scope and estimate
The written scope should identify the room, layout, components, finish, hardware, accessories, preparation, removal, delivery and installation. It should state assumptions that remain subject to site verification and distinguish storage work from owner-supplied or separately coordinated electrical, plumbing, painting and flooring work.
Compare estimates by measured scope. Count walls, doors, drawers and specialty features. Check whether removal, patching, disposal, fillers, trim integration and taxes are included. A lower total that omits necessary preparation or important components is not the same project.
6. Prepare the room
Belongings should be removed according to the agreed schedule. If existing components are being removed separately, confirm wall repair and paint timing. Protect nearby floors and identify an area for materials. Ensure pets and household traffic can remain safely away from the work zone.
Any prerequisite electrical, plumbing or flooring work should be completed in the correct order. Last-minute changes to outlets, vents or baseboards can alter fitted dimensions.
7. Installation and final review
Installation follows the approved layout and site conditions. At completion, operate doors, drawers, pull-outs and adjustable components. Review alignment, clearances and the relationship to walls, floors and trim. Confirm that equipment or service points remain accessible.
The final review is also a chance to understand adjustment and care. Adjustable shelves can be reset as categories change; hardware may require occasional checks; cleaning should follow the supplied material guidance.
Questions worth asking before approval
- Which dimensions and conditions have been verified?
- What does each drawer, shelf or hanging section hold?
- Do all moving parts clear doors, handles and traffic?
- What preparation is included, and what remains separate?
- How are trim, fillers, outlets and vents handled?
- Which finish and hardware decisions are documented?
- How will delivery and installation reach the room?
Begin with photos and a room description
Share photos, approximate dimensions and the items that need a place. A useful first conversation starts with the room as it exists today.